|
|
[China]

Trade Verify
Contact name:Sherlin

GuangDong Heng AnShun Electrical Power Equipment Service Co., Ltd. |
|
Verified Suppliers
|

|
|
Home Backup Power Off Grid Solar Inverter High Efficiency 5000VA Pure Sine Wave Inverter With Built In MPPT 80A
Product Introduction:
This is a multi-function inverter and charger that combines the functions of an inverter, solar charger and battery charger to provide portable uninterruptible power support. Its comprehensive LCD display provides the user with configurable and easy-to-access push-button operations such as battery charging, current, AC/solar charger priority, and acceptable input voltages based on different applications.
Characteristic:
1.Pure sine wave inverter: This feature ensures that the inverter produces a clean and stable AC power output, which is essential for sensitive electronic devices. It provides a high-quality power supply that is comparable to utility grid power.
2.Configurable input voltage range through LCD settings: The inverter allows users to adjust the input voltage range according to their specific needs. This flexibility enables compatibility with various power sources, such as different battery types or solar panels with varying voltage outputs.
3.Configurable battery charging current based on application through LCD settings: Users can customize the battery charging current based on their specific application requirements. This feature allows efficient charging while considering factors like battery capacity, charging time, and available power sources.
4.Configurable AC/solar charger priority through LCD settings: The inverter offers the option to prioritize either AC power or solar power for charging the batteries. Users can set their preferred priority through the LCD settings, allowing them to optimize their power usage and maximize the utilization of renewable energy sources.
5.Compatible with mains voltage or generator power: The inverter is designed to work seamlessly with both mains voltage and generator power. This versatility ensures that the device can be used in a wide range of environments and power supply scenarios.
6.Automatic restart when AC power is restored: In the event of a power outage and subsequent restoration, the inverter automatically restarts to provide uninterrupted power supply. This feature eliminates the need for manual intervention and ensures a seamless transition back to AC power.
7.Overload/overheat/short circuit protection: The inverter is equipped with advanced protection mechanisms to safeguard against overload, overheating, and short circuits. These safety features help prevent damage to the inverter and connected devices, ensuring reliable and safe operation.
8.Intelligent battery charger design to optimize battery performance: The inverter incorporates an intelligent battery charging system that optimizes the charging process to enhance battery performance and longevity. It employs technologies like multi-stage charging, temperature compensation, and voltage regulation to ensure efficient and safe battery charging.
9.Cold start function: The inverter is equipped with a cold start function, which allows it to be powered on and start functioning even when there is no input power available. This feature is particularly useful during emergencies or when the inverter is used in remote locations with limited power sources.
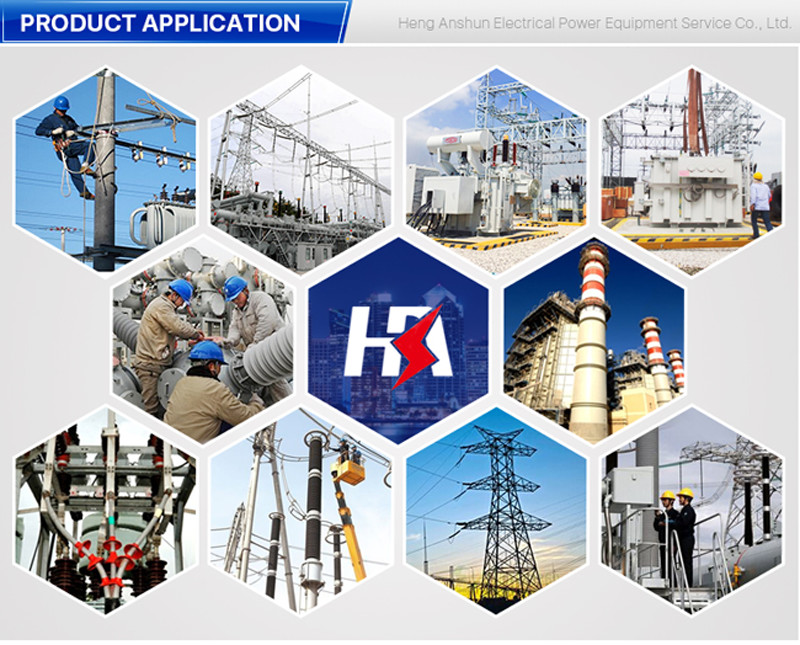
Application:
This inverter can be used to power a wide range of appliances in a home or office environment.

Operation:
1.Power On/Off
Once the device is properly installed and the battery is connected securely, simply press the power on/off switch (located on the device's casing) to turn on the device.

2.Display
The operation and display panel shown in the diagram is located on the front panel of the inverter. It consists of four indicators, four function keys, and an LCD display screen. They are used to indicate the operation status and display input/output power information.
3. Button Function:
Function Setting:Press and hold the function setting key (number 4) on the display screen for at least 2 seconds to enter the function setting page. Once in the setting interface, use the 2nd or 3rd key to scroll up or down and select the desired setting page.
Setting Button: In the function setting page, pressing the 1st key for 0.1 to 2 seconds will confirm the selected option.
Page turn button: Pressing the 2nd or 3rd key for 0.1 seconds or longer on any page will execute left or right page scrolling.

4. LED Indicator Function:


The LCD display can be divided into: icon display, numerical value display and function setting area, and operating mode display area.
1. Load and Battery graphic shows the load and battery capacity, each square represents 25% capacity, the load icon will flash when the inverter is overloaded, and the battery icon will flash when the battery capacity is too low or the battery is not connected. 2.
2. Buzzer icon shows whether the buzzer is muted or not, under normal condition, the icon is not displayed; in any mode, the background software sets MUTE ON, the inverter enters into mute state, and the buzzer disable icon will be displayed.
3. When entering the setup menu, the setup icon will light up, otherwise the icon will not be displayed.
4. Fault icon is displayed only in fault mode, the icon is not displayed in other cases.
Numerical display and function setting area:
1. In non-function setting mode, this area displays inverter related information. Normal mode displays the output information, operate the up/down query key (No.2 or No.3 key) (3 presses: No.2) to display the input voltage and output voltage, input frequency and output frequency, battery voltage and current, PV voltage and PV current, PV voltage and power, output power and output voltage, output apparent power and output voltage, load percentage and output voltage, software version and other related information. Fault mode displays the fault code.
2. In the function setting page, the output voltage (OPU), battery low voltage shutdown point (EOd), etc. can be set by operating the function setting key and the up and down query keys.
Working mode display area:
After 4s of power on, this display area mainly shows the working mode of the inverter. For example: standby mode, mains mode, battery mode, fault mode.
Safety Instruction:
1.CAUTION - To reduce the risk of injury, charge only lead-acid batteries. Other types of batteries may burst, causing injury and damage.
2.Do not disassemble the unit. When service or repair is required, take it to a qualified service center. Improper servicing may result in risk of electric shock or fire.
3.To reduce the risk of electric shock, disconnect all electrical cords before performing any maintenance or cleaning. Turning off the unit will not reduce this risk.
4.CAUTION - Only qualified installers should install the unit with batteries.
5.Never charge a frozen battery.
6.To optimize the operation of the inverter/charger, it is important to select the proper cable size according to the required specifications Proper operation of the inverter/charger is important.
7.Be very careful when using metal tools on or around batteries. Dropping tools can spark or short-circuit the battery or other electrical components and may result in an explosion.
8.To disconnect the AC or DC terminals, follow the installation procedures closely. Refer to the Installation section of this manual for details.
9. 150A fuse is provided for overcurrent protection of the battery power supply.
10.Grounding Instructions - This inverter/charger should be connected to a permanently grounded wiring system. When installing this inverter, be sure to comply with local requirements and regulations.
11.Do not cause the AC output and DC input to be shorted. Do not connect the DC input to a power short circuit.
Installation:
Before connecting all wiring, remove the two screws and remove the top and bottom covers as follows

Please consider the following points before selecting the installation location:
1. Do not install the inverter on flammable building materials. Mounting on a solid surface Mount the inverter at eye level to allow full reading of the LCD display time.
2. For proper air circulation to dissipate heat, leave a clearance of approximately 20cm on the sides and approximately 50cm above and below the unit.
3. The ambient temperature should be between 0°C and 55°C to ensure optimum operation.
The recommended mounting position should be perpendicular to the wall. Ensure that other objects and surfaces are as shown to ensure and have sufficient space for removal of the wires. Suitable for installation on concrete or other non-combustible surfaces.

After connecting all the wires, please screw in the two screws as shown in the figure below and put the bottom cover back on.

Function Setting:
1.Press the function setting key No. 4 for more than 2 seconds to enter the function setting page, press the query key No. 2 or No. 3 for 0.1 to 2 seconds to select the function, and after turning the page to the desired function setting page, the word of the corresponding function blinks.
2.Press Confirmation key 4 for 0.1 to 2 seconds to enter the setting page of the selected function, then the word "Selected Function" lights up and the value to the left of the word "Selected Function" flashes.
3.Press key 4 for 0.1 to 2 seconds to enter the setting page of the selected function, the word "Function" will light up and the value of the selected function will blink to the left of the word "Function".
4.Press key 1 for 0.1 to 2 seconds or more, the function will be set successfully, and the function will exit the function setting page and return to the main display page (or it can be left unopened and wait for up to 30 seconds before jumping back to the main display page