Active Member
|
[China]

Address: No.6 Fengming Road, Wujin Hi-tech Industrial Development Zone, Wujin District, Changzhou, Jiangsu, China
Contact name:Cici Zhang

Jiangsu Qianjing Medical Equipment Co.,Ltd |

|
|
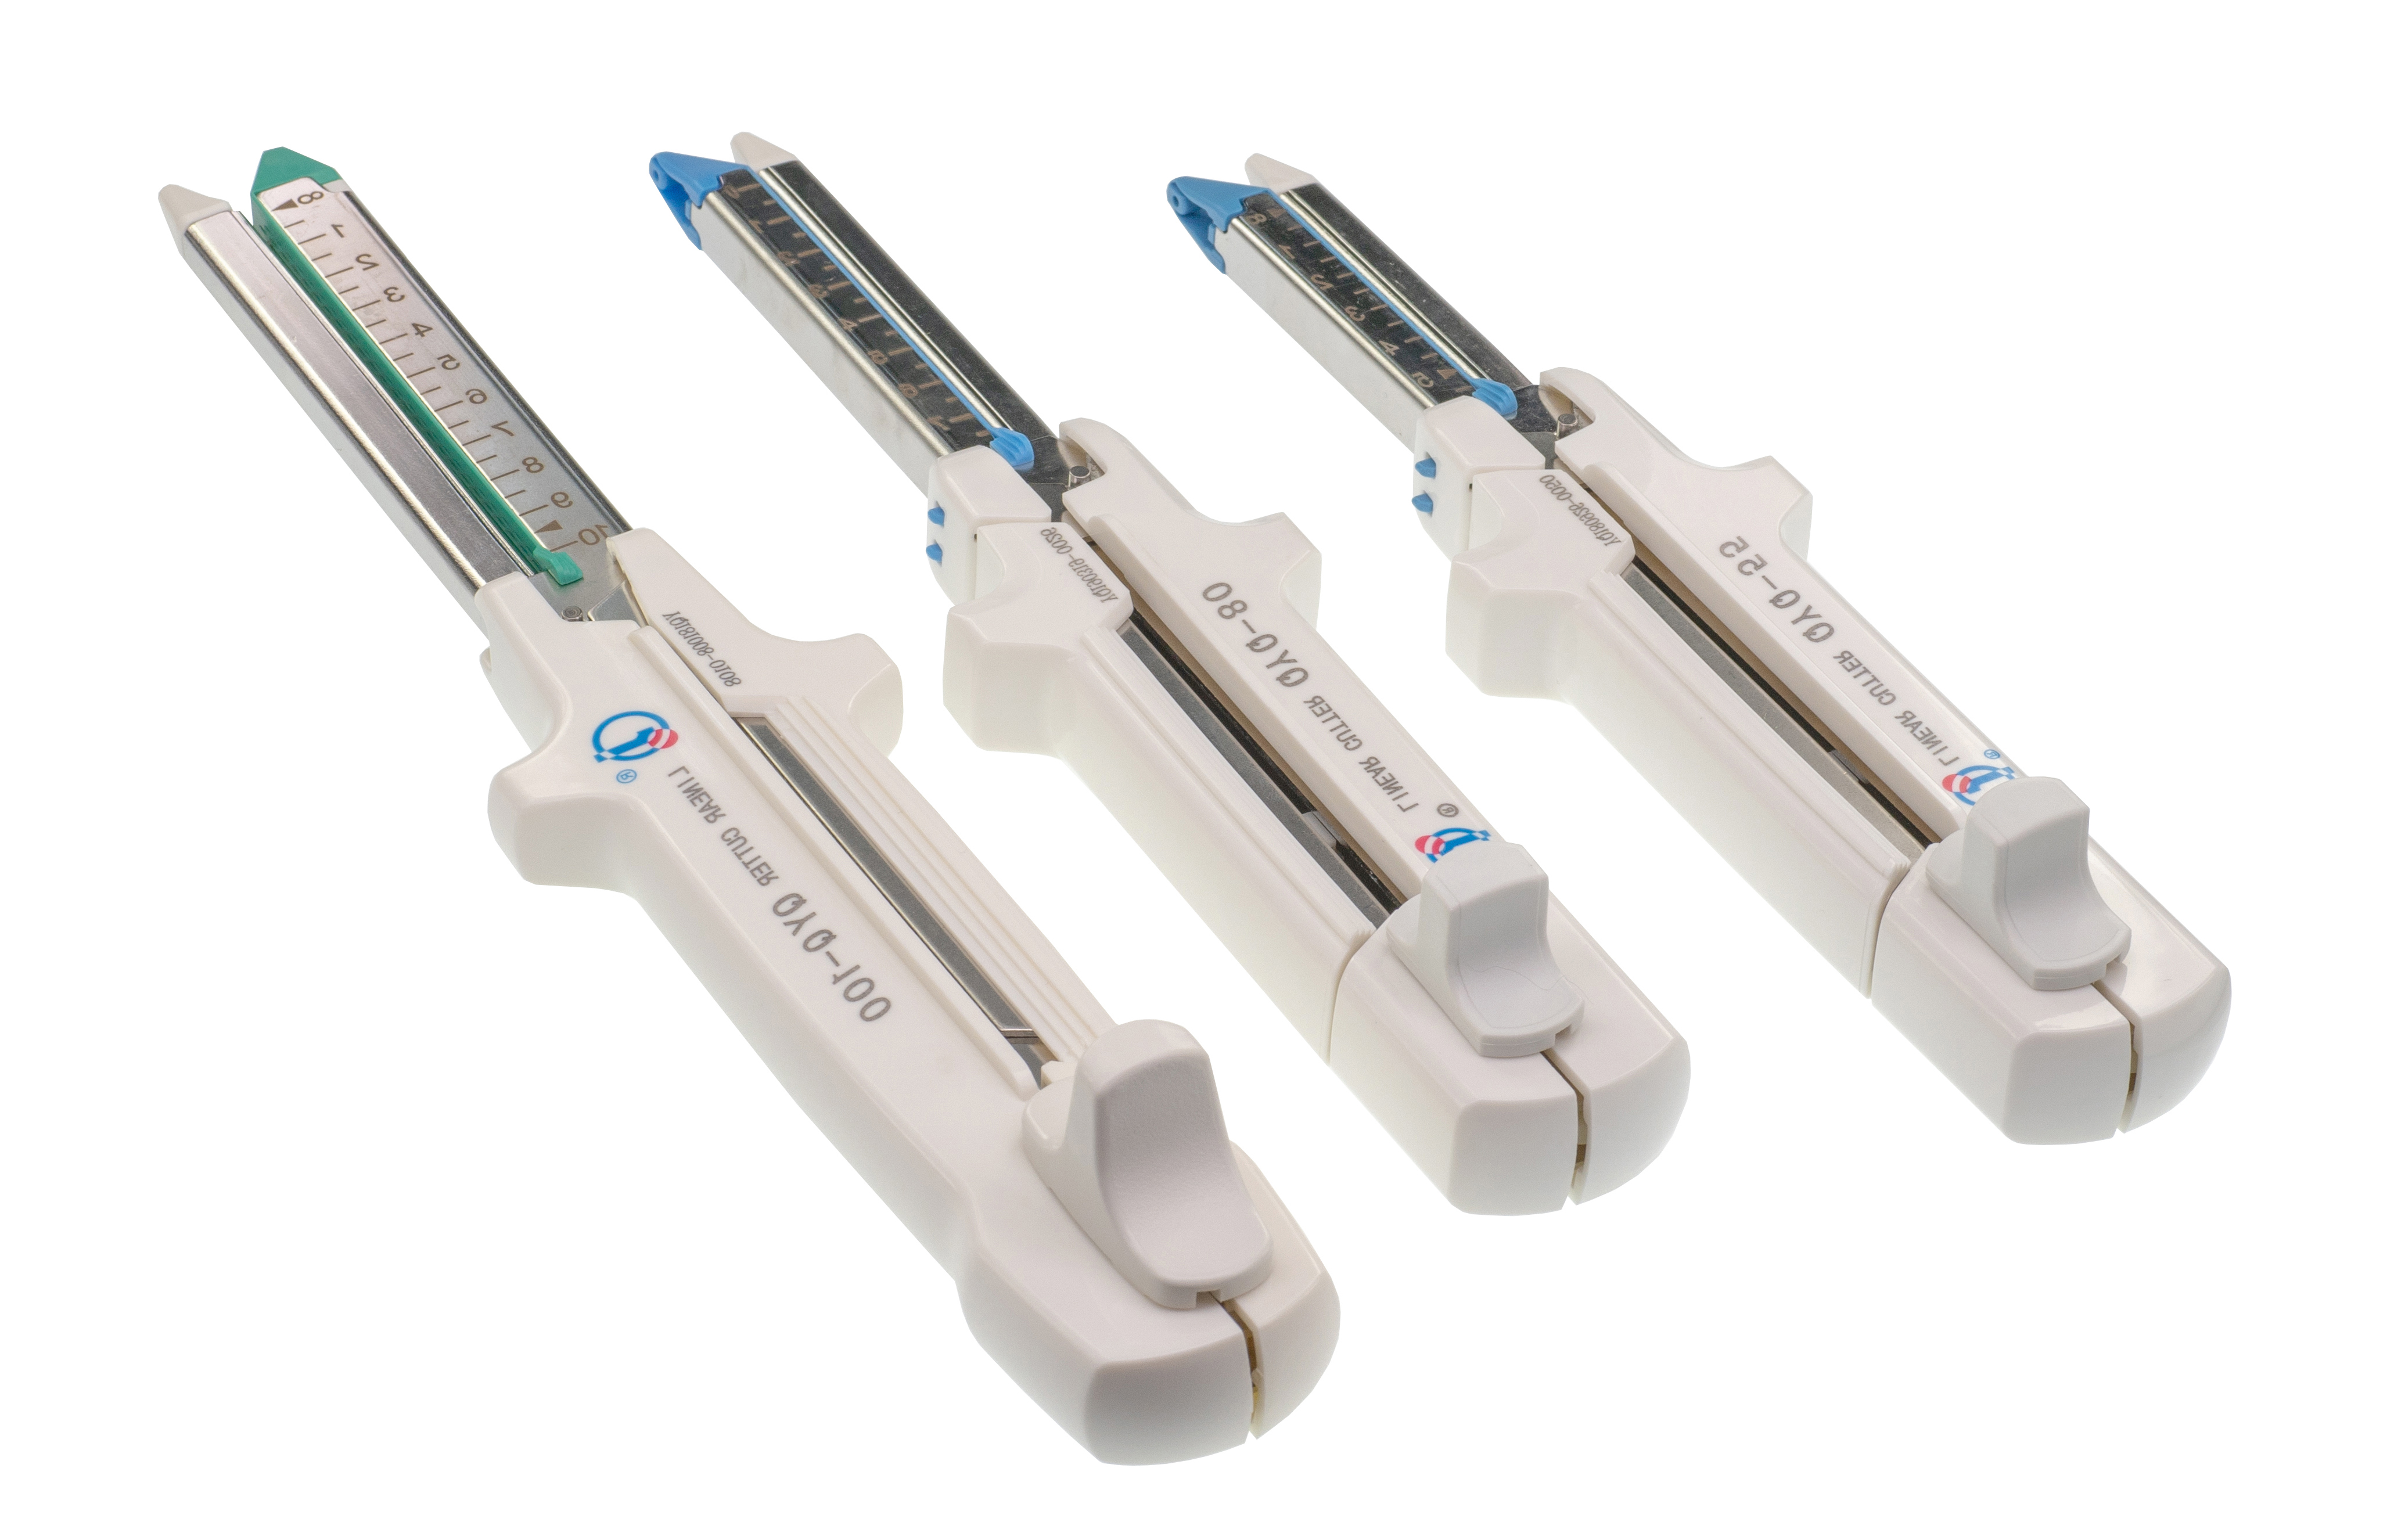
Surgical Linear Cutter Stapler Medical Device for Lung Volume Reduction
Instructions for Operation
1. Press the release button (at the tail end) to open the
instrument.
2. Remove the cartridge cover (the cartridge seems to float up and
down when the installed cover is removed).
3. Place the tissue to be cut between the cartridge support and the
anvil support; if used for anastomosis, put the cartridge support
and anvil support into two hollow organs (for example intestinal
canal) to be stapled respectively, and align two ports to each
other; then divide the instrument to left and right supports for
operation, or make use of the hinge means at the rear of the
instrument to connect the instrument at the rear and open the
instrument at the front; press the closing pressure lever till a
"click" sounds, and then the instrument is totally closed.
4. When the instrument is closed, the firing button can be flipped
to either side to get ready to fire.
5. Put the thumb behind the firing button, with the other two
fingers catching on the front bulge of the instrument, and push the
firing button hard forward to the end to complete firing.
Note: Be sure not to flip the firing button in the firing process;
otherwise, it may cause anastomosis failure due to instrument
malfunction.
Note: Firing when the instrument is not fully closed may cause
risks such as bleeding due to bad staple forming.
6. When firing is completed, pull back the firing button to its
original position.
7. Press the release button at the rear of the instrument lightly
to open the instrument and remove it from the operation site.
Note: Please check carefully the hemostasis at the suture when the
instrument is fired and removed; if there is bleeding, local
fulguration or suturing may be adopted to stop bleeding.
Note: When the fired instrument is opened, the built-in safety lock
will lock up automatically to avoid the instrument being closed
again till the cartridge is replaced with a new one.
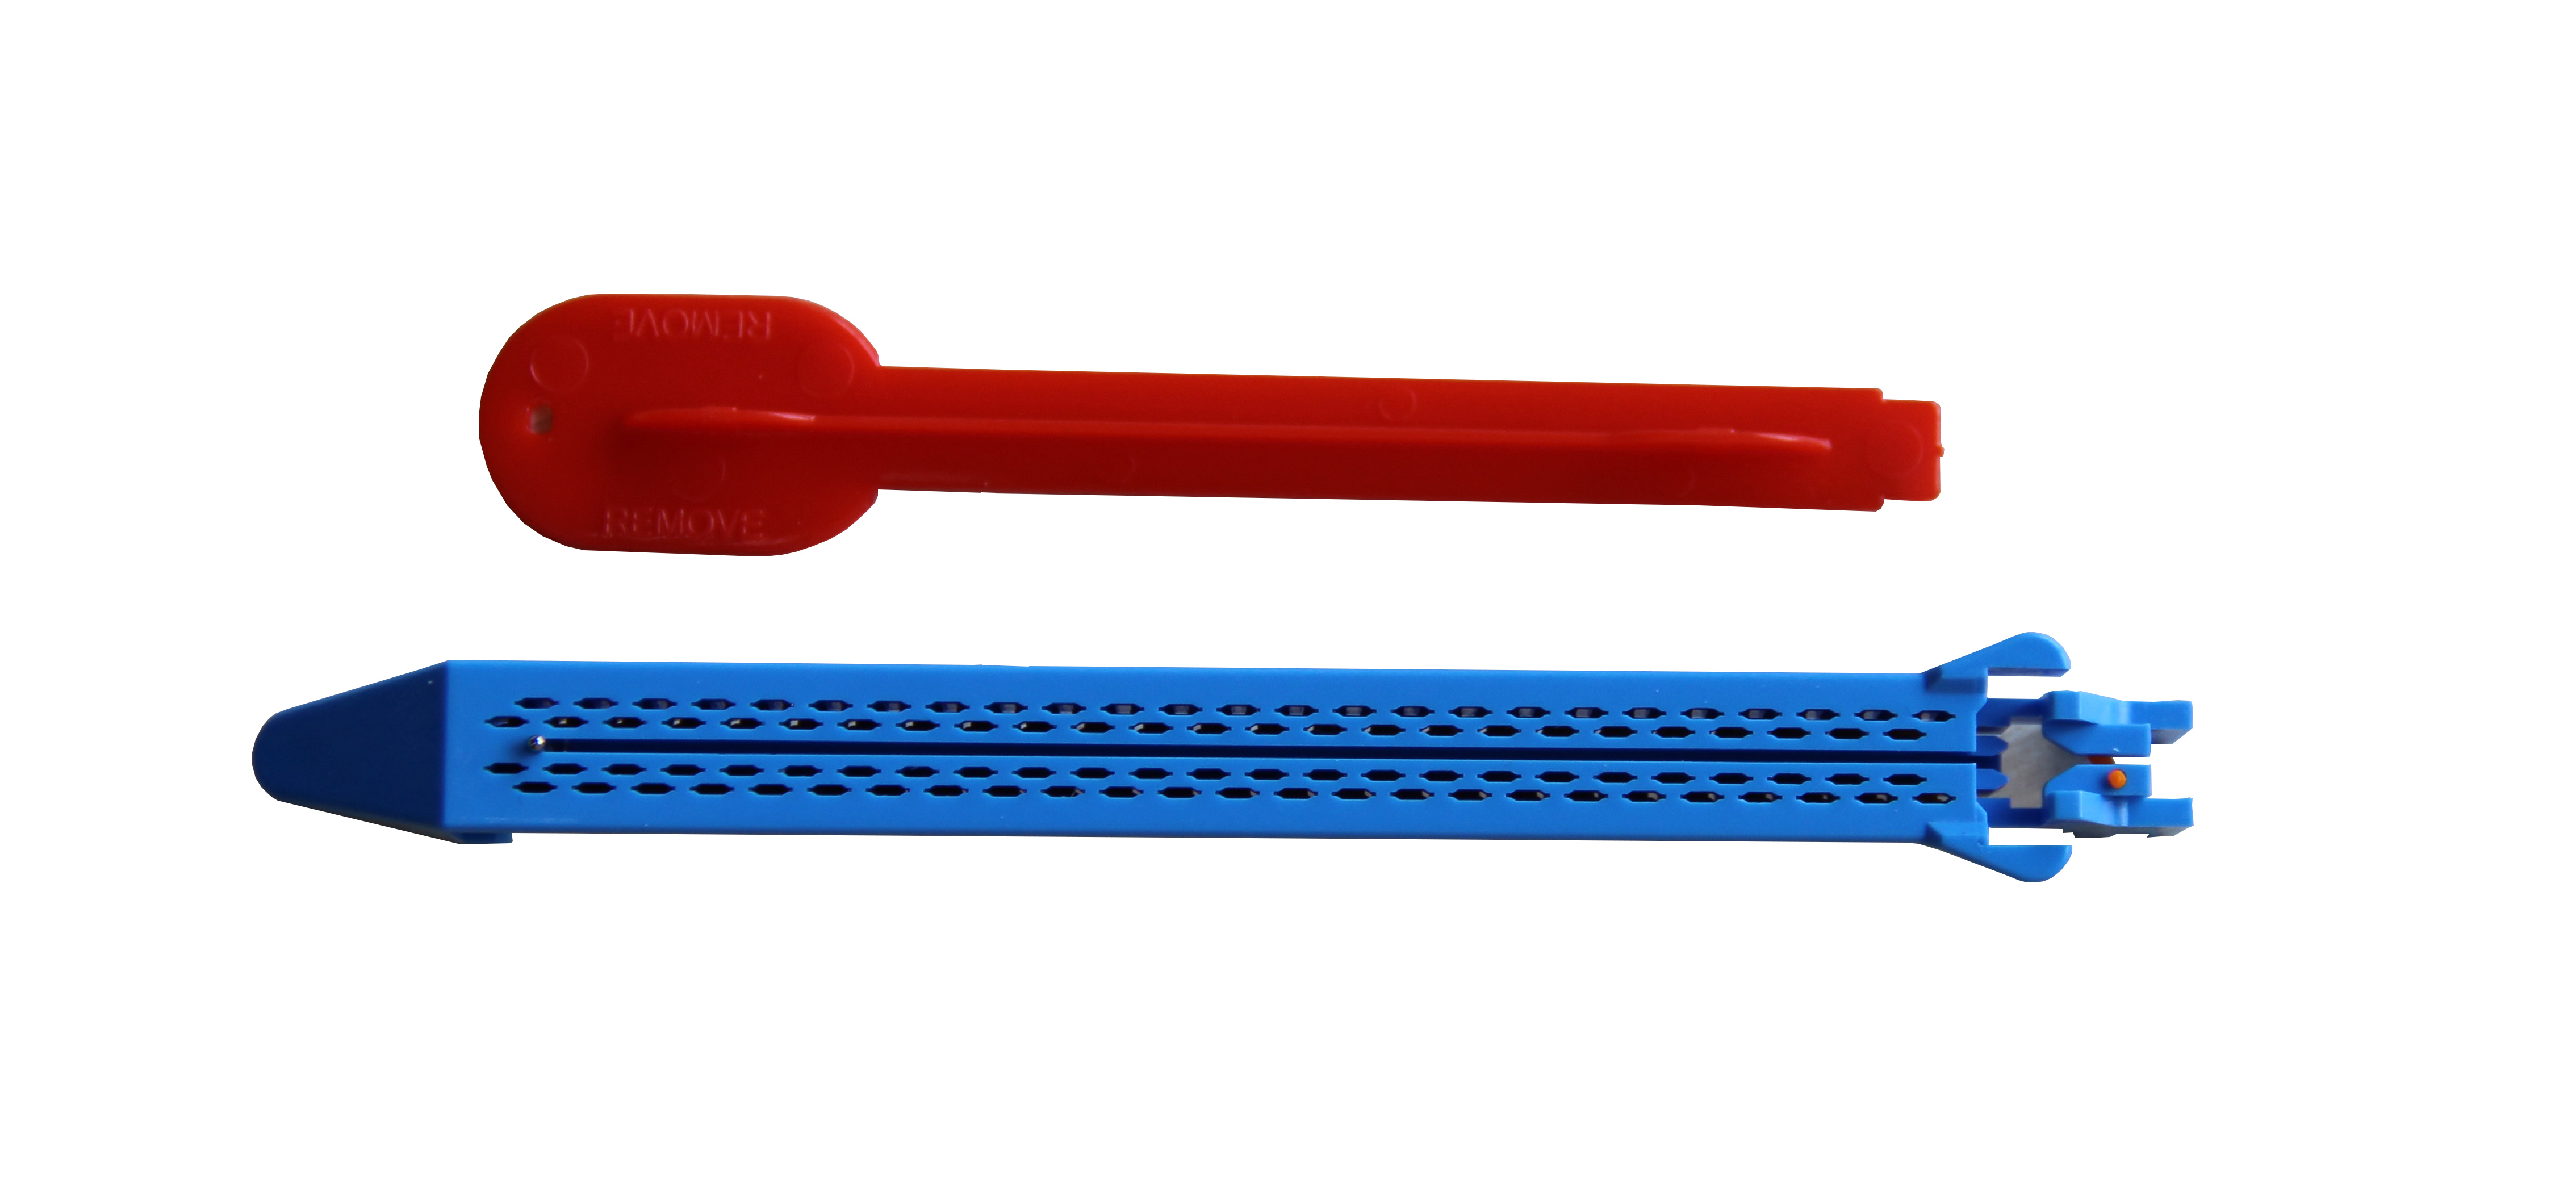
Removable assembly
1. When the assembly needs to be replaced, open the instrument and
unfold the left and right supports first; then hold the assembly
support and grasp the assembly at the proximal end to pull it out.
2. Insert the new assembly to the instrument at the angle of
30°-45° from the distal end, and then press down it into the
instrument; remove the cover, and the assembly can float up and
down in the instrument.
Specification
| Specification | Cartridge specification | Suturing Length (mm) | Staple Quantity (pcs) | Staple Height (mm) | Cartridge Color |
| QYQ-55A | QD-55A | 57 | 56 | 3.85 | Blue |
| QYQ-55B | QD-55B | 4.2 | Gold | ||
| QYQ-55C | QD-55C | 4.5 | Green | ||
| QYQ-75A | QD-75A | 77 | 76 | 3.85 | Blue |
| QYQ-75B | QD-75B | 4.2 | Gold | ||
| QYQ-75C | QD-75C | 4.5 | Green | ||
| QYQ-100A | QD-100A | 102 | 100 | 3.85 | Blue |
| QYQ-100B | QD-100B | 4.2 | Gold | ||
| QYQ-100C | QD-100C | 4.5 | Green |
Product Photoes