This product adopts transverse flow immunoassay for novel
coronavirus antibody in nasopharyngeal swab and oropharyngeal swab
of patients with suspected infection Scheduled test
Widely used: suitable for hospitals, disease control centers,
communities, airports, stations, customs, schools, enterprises,
etc.
[sample requirements]
It is recommended to use PP (polypropylene) rod polyester sponge
test for aseptic test for collecting samples.
(1) Collection method of oropharyngeal test specimen: The head of
the person to be collected is slightly inclined, and his mouth is
opened to expose the pharyngeal tonsils on both sides. Pass the
swab over the tongue root, and wipe it back and forth on the
pharyngeal tonsils on both sides of the collected person with a
little force for at least 3 times, and then wipe it up and down on
the posterior pharyngeal wall for at least 3 times.
(2) Collection method of nasopharyngeal specimen: The sampler
gently supports the head of the collector with one hand, and holds
the swab with the other hand. The swab enters the nostril, and
slowly penetrates backward along the bottom of the lower nasal
passage. Because the nasal passage is curved, do not use too much
force to avoid traumatic bleeding. When the top end of the swab
reaches the back wall of the nasopharynx cavity, gently rotate for
one week (in case of reflex cough, stop for a minute), and then
slowly take out the swab.
(3) Sample treatment: the collected samples should be treated with
the sample buffer provided by this kit as soon as possible (if it
can't be treated immediately, the samples should be immediately
stored in a dry, sterilized and strictly sealed plastic pipe), and
stored at 2℃ ~ 8℃ for no more than 24 hours. Long-term preservation
at -70℃, but repeated freezing and thawing should be avoided.
Test Method
[Inspection Method] Please restore all reagents to room temperature
before testing, and the testing should be carried out at room
temperature.
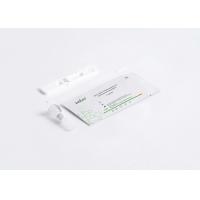
Sample extraction (see figure 1)
1. add 400μL (about 10 drops) of sample buffer vertically into the
sample extraction tube, then insert the sampled sample into the
solution in the sample extraction tube, and rotate it close to the
inner wall for about 10 times, so that the sample can be dissolved
in the solution as much as possible.
2. Squeeze the cotton swab head of the test specimen along the
inner wall of the extraction tube to keep the liquid in the tube as
much as possible, and take out and discard the test specimen.
3. Cover the emitter.
Test procedure (see figure 2)
1. take out the test card from the sealed bag.
2. Drop 2 drops (about 80μL) of the processed sample extract into
the sample adding hole of the test card, and then start the timer.
3. Read the result when the test card is left at room temperature
for 15 minutes. After 20 minutes, the reading result has no effect
Interpretation of test results
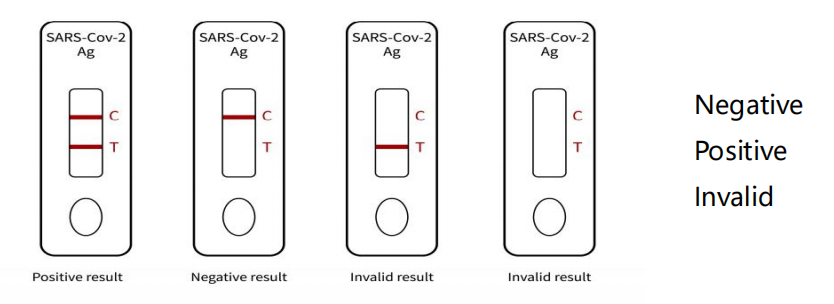
Figure for judging test card results:
① Invalid result: there is no reaction line in the quality control
line (C line), the test is invalid, and the experiment should be
repeated.
② Negative result: a red color band, and the quality control line
(C line) shows color.
③ Positive results: Two red bands, both detection line (T line) and
quality control line (C line) showed color.