

Active Member
|
[China]

Address: No.2025 Luoning Road,Baoshan Economic District,Shanghai
Contact name:Liz Lin

Shanghai Lipu Electric Lighting Co., Ltd. |

|
|
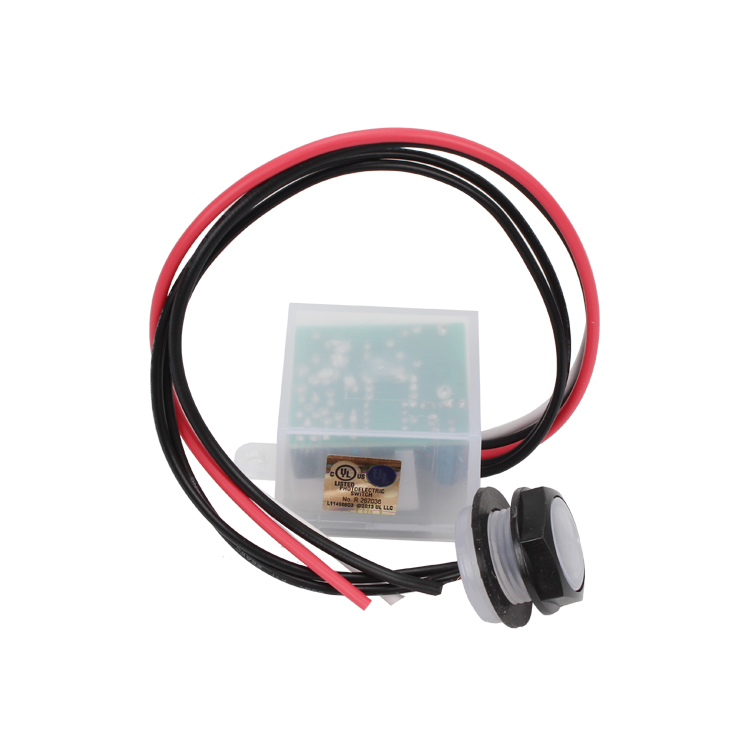
LP-401/401R photo control
10-20Lx On(Dusk),30~60Lx Off(Dawn)
| Brand Name: | HGG |
| Model Number: | LP-401/401R |
| Certification: | CE,UL,ETL, RoHS |
Feature:
On-off Levels:10-20Lx On(Dusk),30~60Lx Off(Dawn)
Ambient Temp:-40℃~+70℃
Ralated Humidity:96%
Power consumption:1.5VA Max
Leads Length:150mm or Customer request
Electrical Life:5000 cycles
Description:
Photodiode sensor
- Electromagnetic DC relay switching
- UV stabilized Polycarbonate cover
- High impact Polybutylene terephthalate Base
Applications:day and night photocontrol switch
Different product names:Photocell photocontrol switch
Competitive Advantage:
1. Goldern supplier
2. We are factory, can ensure inventory&delivery time
3. Fast delivery around the Globe.
4. High quality with Global Standards
5. 3 years factory warranty
6. Safe shipping way and payment
7. Convenient & Friendly Customer Service
Tag:
Quality products
Source factory
Goldern supplier in Alibaba
Product business terms:
1.Minimum Order Quantity: 1 Pcs
2.Packaging Details:Netural packing/Customers packing are acceptable
3.Delivery Time:7 days to 15 days after receiving the deposit per order
4.Payment Terms: L/C D/P T/T Westm Union MoneyGram
5.Supply Ability:50000/Month
The photocell always powers up in the "On" position, if in bright daylight it will switch off within 15 seconds,normal operation will then resume.
To test for correct operation cover the photocell, after a short delay,5-15 seconds, the photocell will operate and power will be appllied to the load. If tested in bright daylight after a similliar detay the photocell will turn off the power to the load when the packing box is removed.
COMMON PROBLEMS
1) The Load stays on
The photocell is in a shady or dark position
The netural is not connected
2) The load is flashing, strobing or switching on and off repeatedly through hours of darkness.
The photocell is too close to the light cource it is controlling
LIVE(BLACK) & LOAD (RED) are reversed.
1) Carefully choose the correcting position to installl the photocell considering the following guide lines.
2) Where possible there should be a clear view of the sky.
3) Be away from view of the light source the unit is to control.
4) Securely fixt the photocell through a 20mm clearance hole using the locking ring and gaskets which should be positioned either side of the hold with the 2 gaskets closet to the hold to form a water tight seal.
5) Terminate the 3 cables observing the correct connections:
BLACK=Live (Supply In)
RED=Load (Supply Out)
WHITE=Neutral


