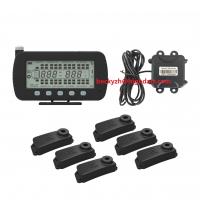
6-44 Wheels Max.203 PSI Truck TPMS With Strap-on Sensors Display In
5 In LCD Monitor
5 IN LCD monitor built-in RS232 receiver (black box), could be
matched with GPS and DVD in truck
Max.203 PSI
Certificate: RoHS, CE, FCC
Trailer exchange support
How the TPMS receiver work?
The TPMS receiver decodes the radio frequency (RF) signals
transmitted by each of the vehicle’s tire pressure sensors. The
receiver uses its pre-programmed pressure thresholds to alert the
driver when a tire pressure sensor detects pressure loss. The
receiver uses the vehicle’s network to communicate any TPMS or
system diagnostic messages. The receiver monitors wheel rotation
(transmitted by the pressure sensors) and the received signal
strength information (RSSI) for each sensor: this enables it to
automatically determine the location of each sensor on the vehicle.
Because of this, the sensors do not need to be reprogrammed after
the tires are rotated. The display automatically updates with the
vehicle’s new tire and sensor positions.
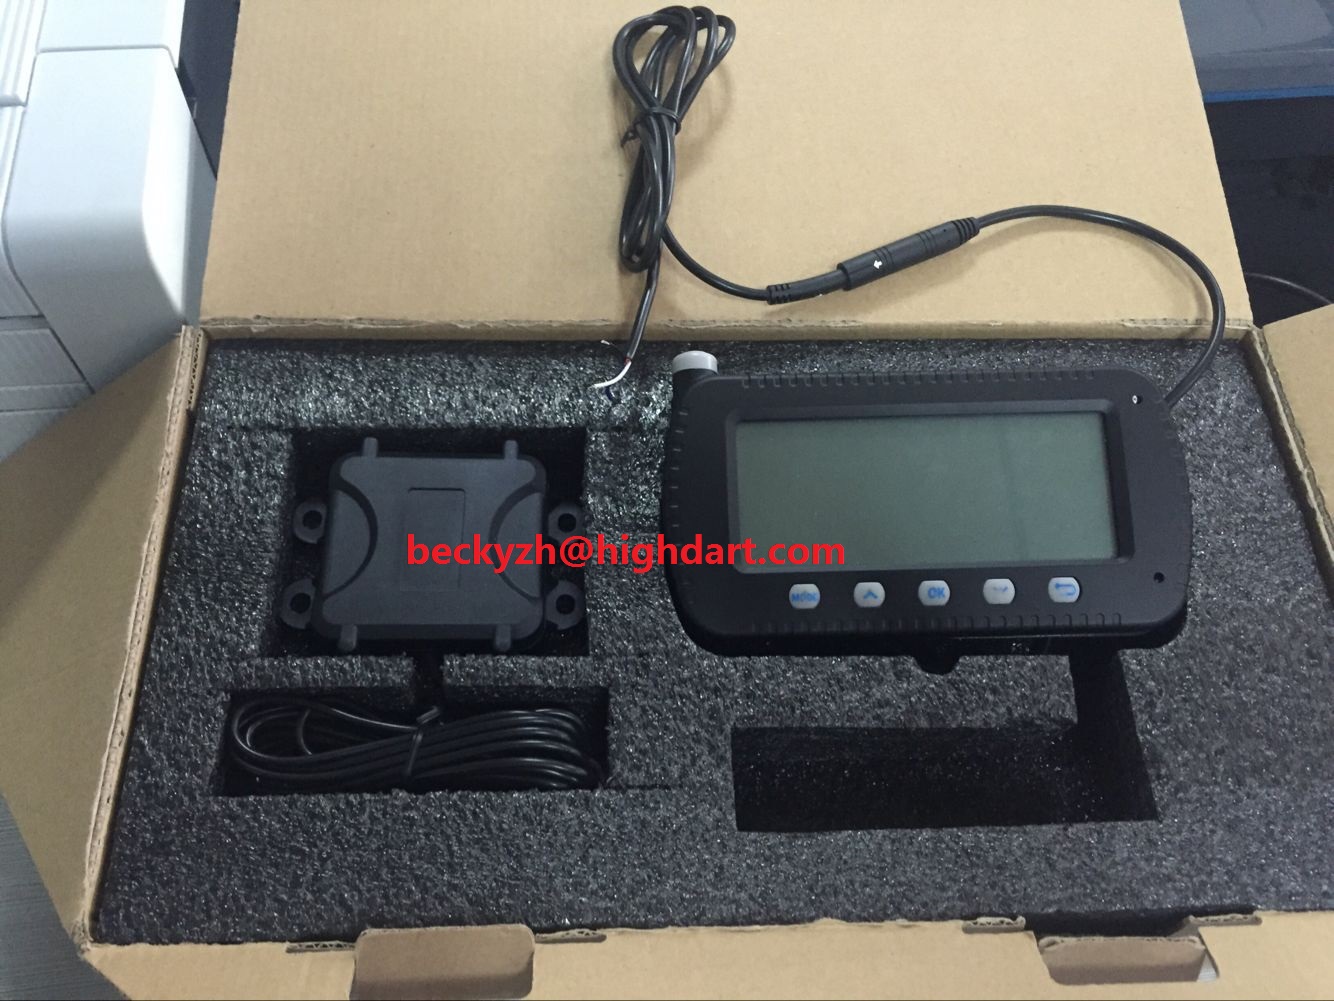
5 IN LCD monitor
5 IN LCD monitor technical parameter
- input voltage 12-32V
- System standby working current 20mA
- Charging time 5H
- HF emit working frequency 433.92 MHz
- Pressure measurement range 0-1400 Kpa (0~203 PSI)
- Temperature measurement range -40℃~ 125℃
- Waterproof IP67
- Battery lifesapn over 5 years
Repeater
- Working voltage DC12V ~32V
- RF signal emit cent frequency 433.92MHz
- RF emit signal baud rate 5K bps
- Total at1.3G data trafic every year, lower cost on wifi per year
Strap-on Sensor
- Battery model no. CR2050 ( 350 mAh)
- Battery lifetime over 5 years
- Frequency: 433.92 MHz
- Pressure measurement range 0-1400 Kpa (0~203 PSI)
- Temperature measurement range -40℃~ 125℃
- Waterproof IP67
New strap on TPMS, no need to worry the valve type problem any
more.
How to install TPMS sensors using a TPMS sensor strap band?
The use of a sensor strap bands may be required for some OEM applications like some Ford F-Series Trucks. Most sensor bands are used with 3 piece wheels, oversized
wheels, and wheels with drop center valve stem holes. Some 3
piece wheels may have two holes drilled into the barrel, one for
standard valve stems and one for TPMS. We included some pictures to aid in the installation, as
with any Do it Yourself, preparation is key!
Installation is assuming tires have not been mounted yet.
- You must remove the TPMS sensors that are mounted inside of your
stock wheels. This requires going to a tire shop and having your
tires removed. The sensor is located inside of the tire, banded to
the wheel. It is a good idea to remind the tech removing the tires
that you do have a band mounted TPMS sensor in the wheel so that
they will be cautious of it so as to not damage it when removing
the tire. Once the tire is separated from the wheel, the sensors
are easily removed by squeezing the ends of the brown stopper
together and then carefully prying the metal tab outward with a
small flat blade screwdriver and swinging the sensor upward on the
hinged tabs. Take note of how the sensor is oriented. You must
mount the sensor the same way in the new wheel, keeping the same
edge parallel to the outer face of wheel. No problem if you forget
to check, as the sensor is marked.
- The sensor will be mounted on the new wheel in the same orientation
as removed from the old wheel. You should position the new sensor
180 degrees from the valve stem. The new (supplied) cradle
will be affixed to the wheel with the (supplied) 3M double-sided
adhesive tape. I chose to prep the location where the sensor would
be mounted by wiping the area clean with rubbing alcohol and a
clean rag. You want the area to be clean and dry for best adhesion
of the cradle mount. It is important to install the cradle to
allow the sensor to be mounted with the proper side toward the
outside edge of wheel. See sensor to make sure.Remove tape and
mount cradle. Note: for my installation, I chose to cut the tab off
of the side of each sensor cradle. I did this so that cradle would
fit the contour of my wheels. This is probably not necessary for
all wheels, but I felt it was justified for my application.
- Thread the band through the installed cradle. Tighten the band,
with the clamp end positioned near the valve stem (180 degrees from
the sensor). After tightened I chose to trim the excess. If you do
not trim the excess I would suggest restraining the loose end of
the band to avoid unwanted noise when the vehicle is in use at low
speeds, such as coming to a stop. In Figure 2 below, take note of
the position of the clamp end relative the valve stem (black
circle). Note: picture taken before I trimmed the excess from the
band.
Fig. 2 - Band Installed
- Snap the sensor in place. Hooked end installed first, then lower
the sensor to snap firmly in place. See figure 3 below.
Fig. 3 - Sensor installed
- TPMS install is now complete and you are ready to have your tires
mounted and balanced.
DB9 connector is available for GPS.
If you need help installing the TPMS Mounting Strap Kit, please
feel free to contact our customer service department at
beckyzh@highdart.com