

Active Member
|
[China]

Address: No. 360, Huayang Nanhu Avenue, Tianfu New District, Chengdu, Sichuan
Contact name:John easun

Sichuan Easun Technology Co., Ltd |
|
|
◆Do not expose the device to moisture or rain.
◆Attempts to disassemble or repair the device without authorization will void the warranty.Please contact with the maintenance point in time if there is any needs.
◆Maintenance should only be carried out by our professional staff.
◆No matter when the device is on or off,it is strictly forbidden to direct the lens of equipment at the strong high temperature radiation source (such as the sun),so as can cause the abnormal operation of device or even damage.
◆Do not shake or bump the device during use or transportation.
◆During transportation and storage,the temperature of the host cannot be lower than -40℃ or higher than 60℃.
◆The original packing boxes must be used during transportation.
◆The device should be stored in a cool,dry,ventilated environment without strong electromagnetic field.
◆Avoid oil stains and various chemical substances to pollute the lens surface and damage the surface.
◆After use,please close the lens cap in time.
Warning!Improper operation can cause serious damage the components!
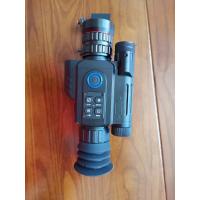
Multi-function Night Vision Range Finder

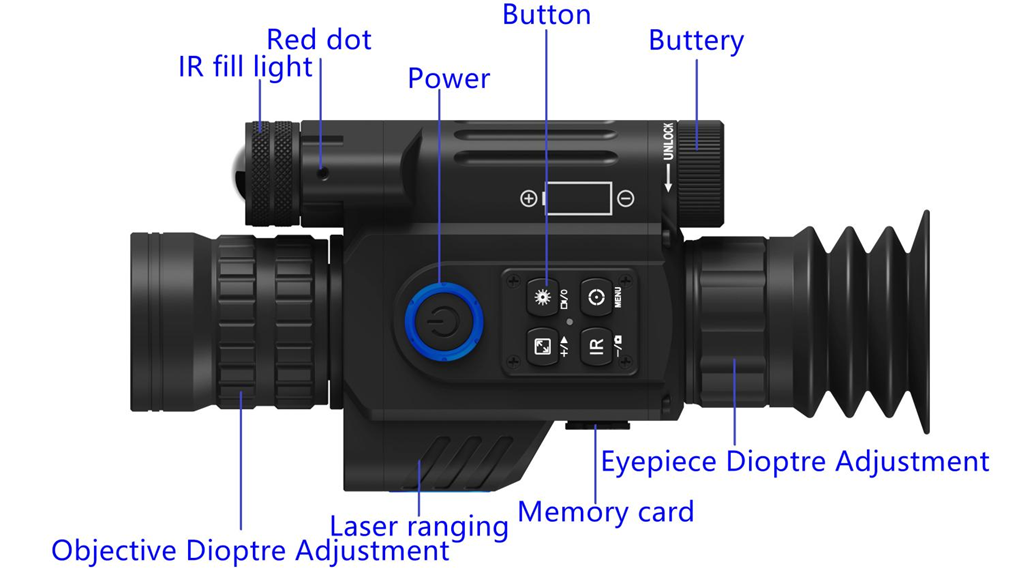
Product description
Installation
Battery installation
Please use lithium chargeable 3.7V flat battery 18650.Remove battery compartment cap and make sure setting the positive polar towards to the direction inward.Put the cap back and screw it until tight.
Adjustments
A simple test can be taken to check the functions of the device after the installation of battery.First,rotate and adjust the eyepiece dioptre adjustment until you see the four-character icon on the screen(there is on need to see a clear image),then rotate the Objective lens adjustment ring until you can see your target clearly.Second,switch to different modes,test IR,red dot and Rangefinder.Long press the IR function button to switch to black&white mode and test the infrared supplementary light. Click the red dot to indicate the on and off , and click the Ranging function button for ranging test(Please do not cover the lens when ranging).
Mount Installation
There is four mounting holes in the base of the device.Attach the mount to the base of the device by using a hex-nut wrench and screws.The mount can be installed in multiple rails.
Default boot home page

UI Interface description:
gyroscope, cross partition, battery power, WIFI switch, IR status, time label, magnification, screen brightness, ranging.


